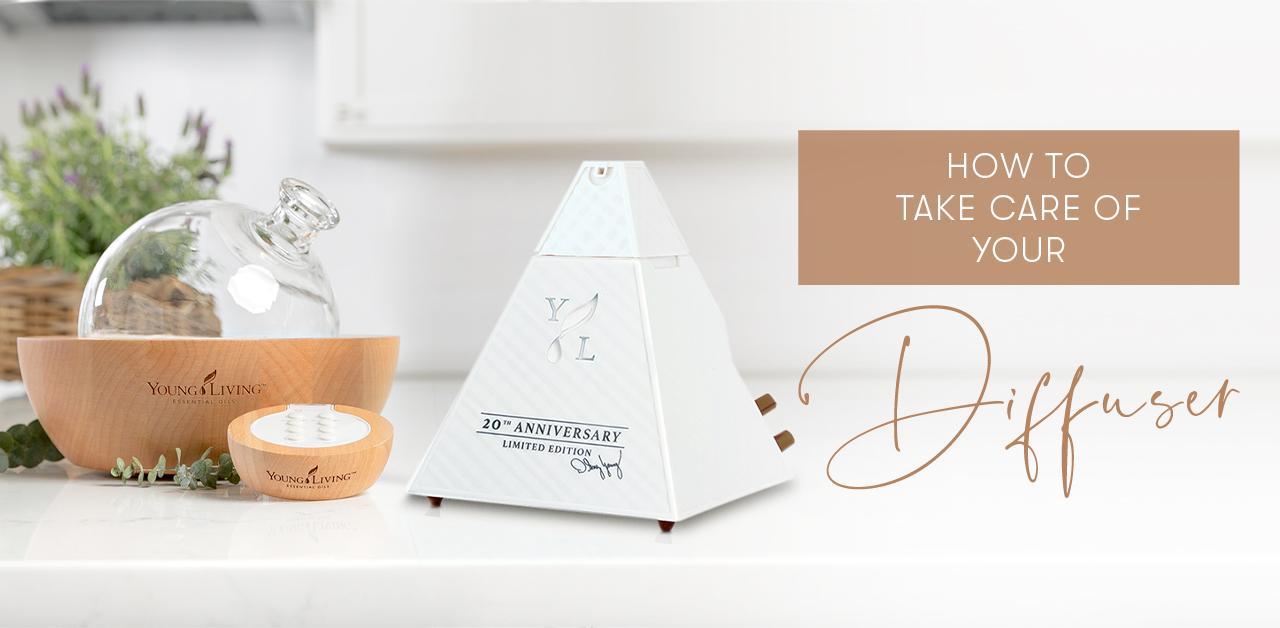
Whether you’re creating brand new blends or firing up your favourites to create a familiar aromatic ambiance, chances are your Young Living diffuser puts in a lot of hours. In order to show your diffuser the love it deserves, regular cleaning is important, helping to put a stop to the buildup of oil residue that can appear over time on the inside, affecting how well your diffuser works. In this blog, we’ll be running you through our top tips on how to clean different diffusers quickly and effectively, so you can get back to filling your home with all your favourite scents in no time.
How to Clean an Ultrasonic Diffuser
- Turn off and unplug your diffuser.
- Wipe out the reservoir with a wet cotton cloth.
- Dip a cotton bud in rubbing alcohol and clean the ultrasonic plate to remove any extra build-up.
- Rinse the reservoir with water; then wipe it clean and dry up excess water with a soft cloth.
- Add water and essential oils; then diffuse away!
How to Clean an Atomising Diffuser
- Turn off and unplug your diffuser.
- Dip a cotton swab in rubbing alcohol and swab to clean all areas of the diffuser.
- Add essential oil of choice to the atomiser and diffuse away!
YL Tip: Rinse and wipe out your diffuser after every use. This will help minimize the essential oil buildup. Deep clean your diffuser 1-2 times a month.
Which Young Living diffuser is your favourite? Write your comments below or contact us at mseublog@youngliving.com


2 Comments
I’ve tried cleaning my aria diffuser several times and I’ve even replaced the ultrasonic disc, but I can’t get it to diffuse properly 🙁 the unit still powers up, it just won’t create any mist. Any tips?
Hi Christine, we are very sorry to hear that you are experiencing issues with your diffuser! We kindly ask you to contact our colleagues via e-mail to customercare@youngliving.com and they will be able to assist you with your issue.