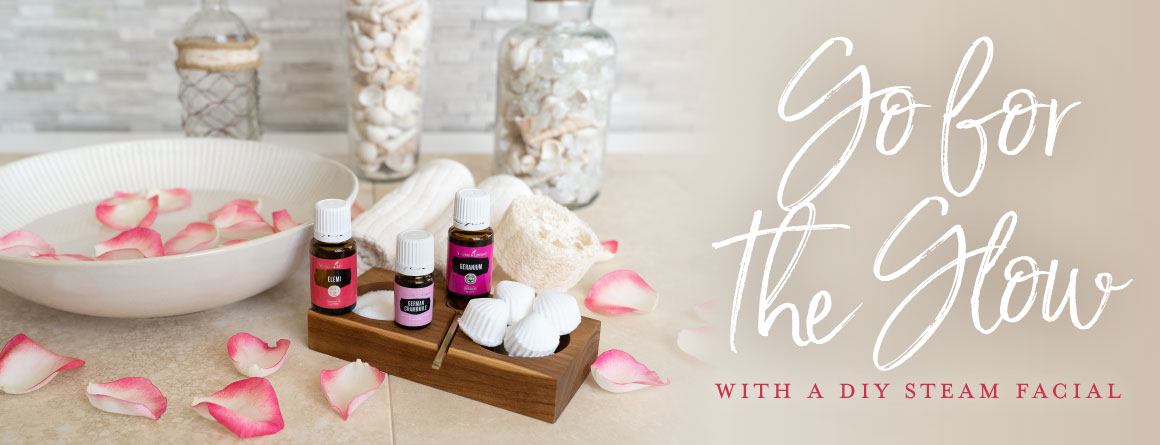
Steam facials are a recent trend in high-end salons and spas, but you can experience the same steamy treatment at home for a fraction of the price with our DIY steam facial. Infused with ingredients you trust, this spa-quality facial will leave you looking and feeling radiant!
Ready for fresh, dewy skin? Let’s glow!
What is a steam facial?
A steam facial is a skin treatment that utilizes steam from hot water to cleanse and moisturize. Think of it as a dirt- and dehydration-busting sauna for your face. Pair our DIY steam facial with exfoliation and a face mask to capture even more skin-lovin’ benefits.
What are the benefits of a steam facial?
You mean other than escaping reality and indulging in much-needed “me” time for a solid 15 minutes? Plenty! Mini self-care session aside, a steam facial soothes and hydrates skin, opens pores to gently remove dirt and impurities, and increases circulation. It also allows the skin to better absorb your favorite skin care products.
DIY steam facial
Ingredients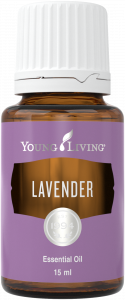
- 1 cup baking soda
- 1/2 cup citric acid
- 7 drops Lavender essential oil
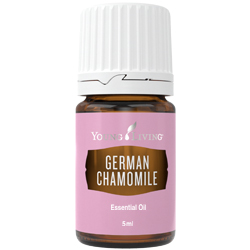
- 4 drops German Chamomile essential oil
- 7 drops Geranium essential oil
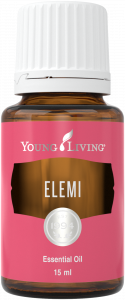
- 4 drops Elemi essential oil
- 2-3 tablespoons witch hazel
- Small spray bottle
- Small silicone molds, about 1 inch across
- A pot of boiling water
- Dried rose petals or dried lavender (optional)
Instructions
1. If you’re using dried rose petals or lavender, sprinkle it in the bottom of your silicone molds. Set aside.
2. Add 1 cup baking soda and 1/2 cup citric acid to a glass bowl and mix well with a wire whisk.
3. Add essential oils to dry ingredients. Mix until completely blended.
4. Add 2-3 tablespoons of witch hazel to a spray bottle. Spray surface of the mixture and stir. Repeat spraying and stirring until mixture resembles and feels like damp sand. You know it’s good to go when you can shape it into a ball, but it falls apart easily.
YL tip: If the mixture ends up too moist, add more baking soda and citric acid until you get the right consistency.
5. Put the mixture into silicone molds. Press firmly with the back of a spoon or your fingers. The mixture will expand, so leave a small lip (about 1/4 of the mold) at the top.
6. Allow facial steamers time to dry completely — anywhere from a few hours to a few days, depending on your home’s humidity. Pop steamers out of molds.
YL tip: If they refuse to pop, they need more time to dry!
How to use
1. Prep your skin with a little cleansing and exfoliating.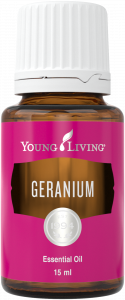
2. Bring water to a boil in a large pot.
3. Remove pot from stovetop and place it on a hot pad or towel in an area where you can comfortably lean over it. Be careful — the water’s hot!
4. Add a facial steamer to the water. Let it sit and fizz for a minute or two.
5. Place a large towel over your head and lean over the pot with your face 5-10 inches away from the water. Do not put your face closer to the water to avoid burning your skin. If things get too hot, create a vent in the towel and allow some steam to escape.
6. Do five 2-minute sessions, giving skin a 1-minute break between each. Keep the water hot by placing a lid on the pot during break time.
YL tip: Short on time? You can still get in a good glisten with one 5-minute session.
7. Splash your face with cool water.
8. Moisturize with your favorite serum followed by face lotion for truly glow-tastic skin.
YL tip: Apply our DIY mud mask immediately after steaming for extra glow.
Have you done a steam facial before? Tell us your tips in the comments!
Don’t be a stranger to YLHK family!
Facebook: https://www.facebook.com/YoungLivingHongKong/
Instagram: https://www.instagram.com/younglivinghongkong/
Subscribe A Drop of Inspiration (creative, inspirational EO Tips): eepurl.com/dn5Lmr
This post is also available in: Chinese (Traditional)



Leave A Comment